Wondering why can’t you add actions when you create a link in a Mailchimp email? We’re baffled too.
But here’s a hack to let you stick it to the chimp and add an action to a Mailchimp link anyway.
Unlike ActiveCampaign or Keap, Mailchimp doesn’t let you attach an “add tag” action directly to a link in a regular broadcast email before you send it. Or any other action for that matter. Pretty frustrating when you want to automate some follow-up to your warmer leads and prospects.
But we’ve got a workaround. You can still apply tag to link clicks in Mailchimp using Automation Flows Here’s how.
Adding tags and actions to link clicks in Mailchimp
- To apply tag to link clicks in Mailchimp emails, use an Automation Flow with an email-activity starting point (or Classic Automations if your account still shows them). Set it up before you send the broadcast campaign.
- NOTE! When you create your flow, don’t bother with the “Clicked a link” trigger that asks you to create a Mailchimp website. That’s for website link clicks.
Method A (recommended): Customer Journey for email link clicks
Step 0) Prep (2 mins)
- Decide your tag(s): e.g. Clicked – Price List – Sept 2025.
- Use unique URLs per CTA if you’re tracking multiple links. (Adding a distinct UTM parameter? Even better.)
- Ensure click tracking is ON in your campaign settings.
Step 1) Build the Flow
- In Mailchimp, go to Automations → All Flows → Build from scratch
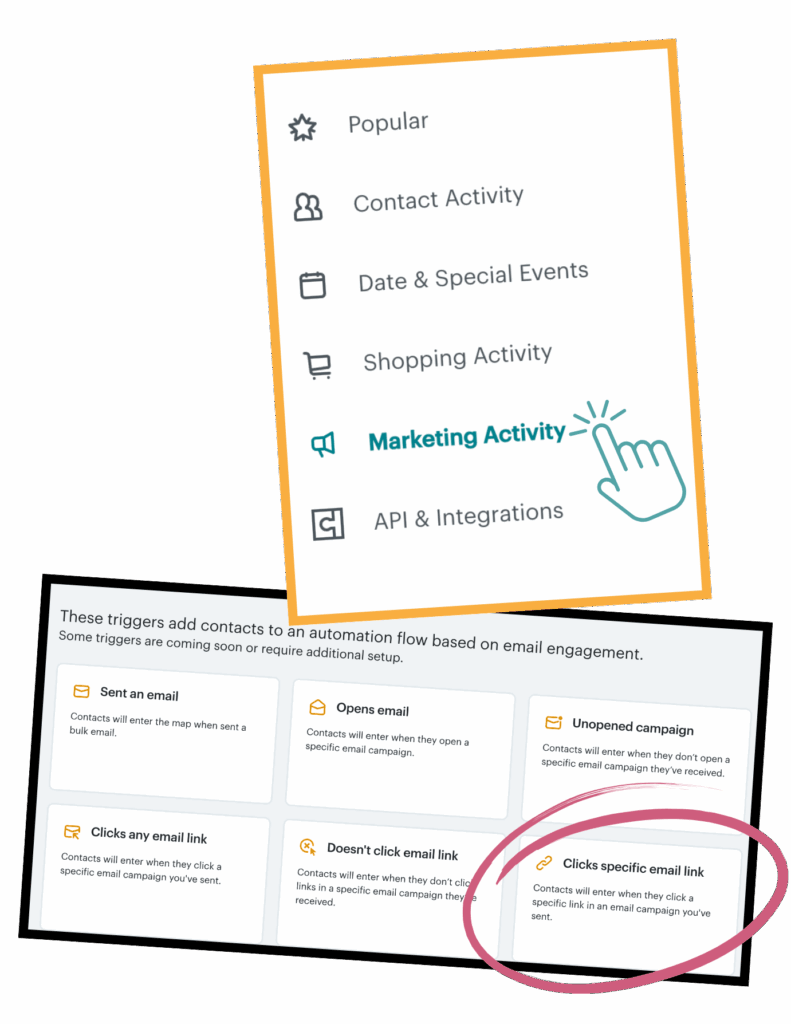
- Starting point: choose Marketing activity from the panel on the left (the wording might vary according to your account type).
- If you see “Clicks specific email link” on the screen that appears: select your campaign and the exact link you want to create an action for.
- If you only see “Clicks any email link”: pick that, then you’ll filter in step 2.
Step 2) Target the exact link
- Add an If/Else (branch) step filtering by Link URL equals/contains your target link.
- If your UI doesn’t let you filter by URL, create one simple flow per link you want to tag.
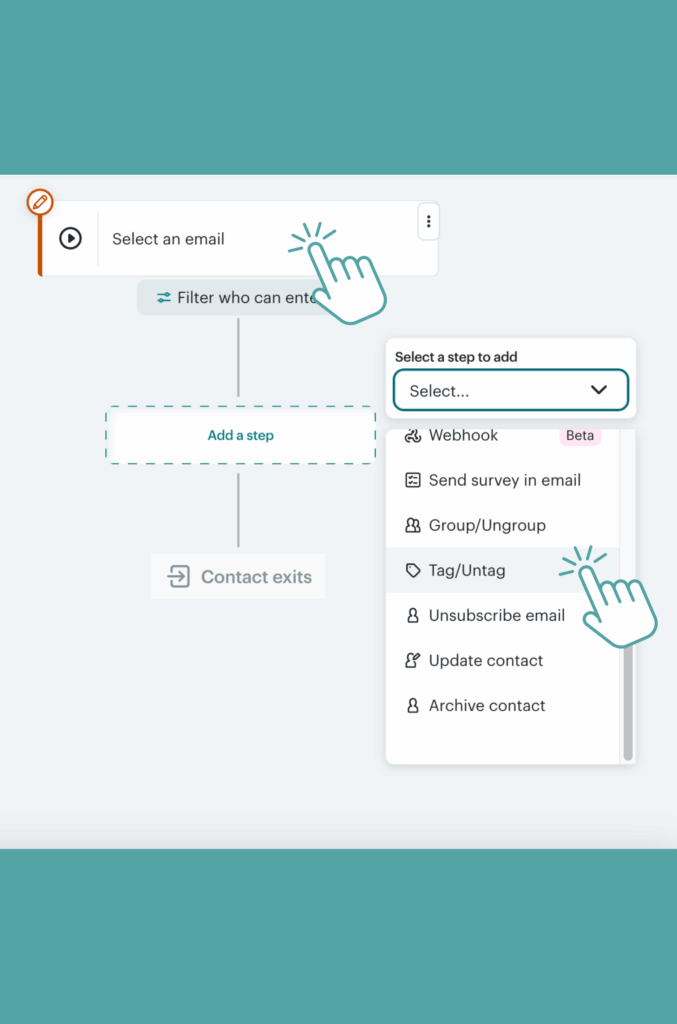
Step 3) Add the tag
- In the matching path, add Action → Add/Remove Tag → Add Tag and enter your tag name.
- Remember, at this point you could add in other actions too, like to send a follow-up email with a survey or question about the PDF they just clicked to download.
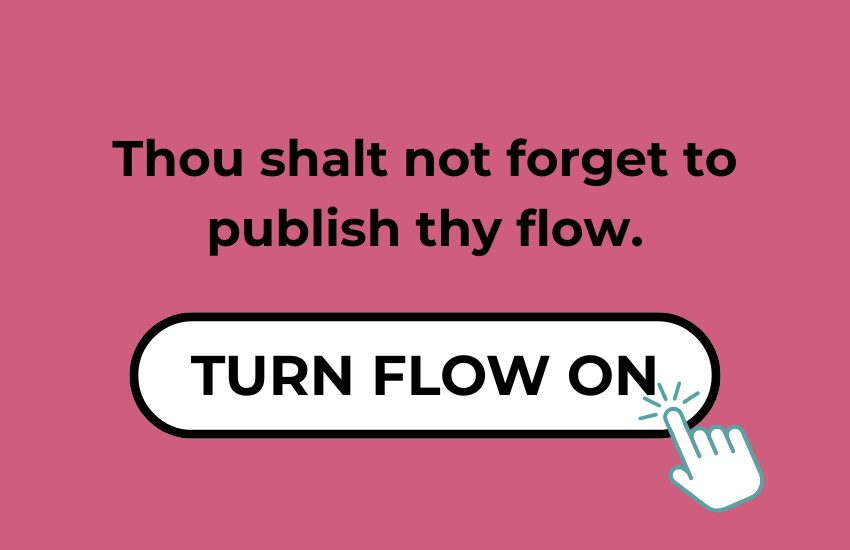
Step 4) Turn it on before sending
- Publish the flow first, then send your broadcast campaign. Journeys don’t backfill, only clicks that happen after the broadcast has been sent will trigger.
Go a bit extra... Test live and name consistently!
- Test live: test sends often don’t count towards automation triggers. Apply a testing tag to your own email address or make an audience with just you in it, and send the campaign to JUST YOU(!) first, click the link, and confirm the tag’s been applied. You should see a “1 completed” item appear in your Flow too.
- Name consistently: Clicked – {Offer/Asset} – {Month Year} scales well across multiple Mailchimp campaigns.
Method B: Tag Mailchimp clicks post-send
No-flow fallback - it's manual but... fast
If you’re mid-send and forgot to set a journey:
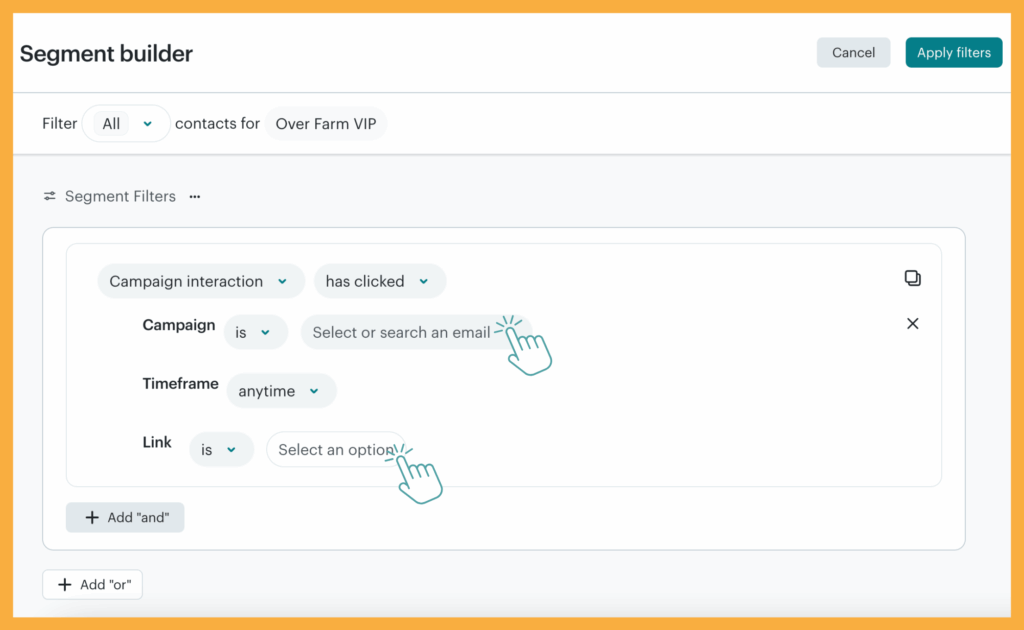
- Go to Audience → Segments → create a segment with Campaign Activity: clicked specific link in [Campaign]. (You can also just use the “filter” button to do this.)
- View segment → Select all → Bulk actions → Add tag (use the same naming convention).
This doesn’t automate future clicks or follow-up, but it instantly helps you apply a tag to link clicks in Mailchimp retrospectively for manual follow-up targeting.
Common gotchas (and fixes)
- Seeing “You haven’t created a Mailchimp website”? You picked the website click trigger. Use Marketing activity (email) instead.
- No triggers for specific link? Use “any email link” + If/Else by URL or create one journey per link.
- Clicks not firing? Ensure the journey was ON before the send, and that you’re testing with a live send, not a preview/test.
- Multiple links to the same page? Argh! Add distinct URL params so you can branch/tag cleanly.
Need help with Mailchimp?
There’s not much we don’t know about Mailchimp, or most other broadcast email CRMs for that matter. Chuck any questions you’ve got in our direction.
And if you’re getting stuck with your email marketing and need help, or want us to take a deeper look at your marketing strategy in general, book a free business growth call below. Our experts on your marketing, for 30 minutes, for free. Why not?!
Get help to grow your business, for FREE
Book a free 3XM Business Growth Call, and spend 30 minutes with a member of the 3XM team, where we’ll help you outline some straightforward actionable things you can do to improve your marketing and grow your business, no strings, no tie ins, and no purchase necessary.
During your Business Growth Call, we’ll:
- Take a look at the marketing you’re doing, and give you our two cents on how to improve it
- Tell you what we’d be doing if we were in your shoes
- Give you actionable tactics and strategies we’re using right now to get leads and customers for our clients
- Make sure you walk away with something you can take away and use straight away
Click the button below to book a slot, and we’ll see you on the call: